Natural light is often called the photographer's best friend, yet it can also be the most challenging element to master. Understanding how to read, interpret, and work with natural light will transform your photography regardless of what camera you use.
Understanding the Quality of Light
Natural light varies enormously in its quality, and recognizing these differences is the first step to mastering it:
- Hard Light: Creates strong, defined shadows and high contrast. Typically occurs in direct midday sunlight.
- Soft Light: Produces gentle, diffused shadows with smoother transitions. Found during overcast days or in shade.
- Directional Light: Comes from a specific angle, creating dimension through highlights and shadows. Common during golden hour.
- Flat Light: Even illumination with minimal shadows, often occurring on heavily overcast days or in open shade.
Each quality of light has its advantages for different subjects and moods. Hard light can create dramatic portraits with strong character, while soft light is flattering for most subjects, especially for portraits and macro photography.

Comparison of hard light (left) versus soft light (right) on the same subject
The Golden Hours: Magic Times for Photography
The term "golden hours" refers to the period shortly after sunrise and before sunset when the sun is low on the horizon, creating warm, directional light that's ideal for photography.
During these times:
- The light has a warm, golden tone that adds richness to your images
- Shadows are longer, adding dimension and texture
- The directional quality creates depth and modeling
- The lower intensity allows for easier exposure management
"To me, lighting really creates the mood of the image, and natural light – whether it's soft, harsh, backlit – what happens naturally is always going to enhance the way your image looks and feels." - Annie Leibovitz
While golden hour light is often considered ideal, it's important to develop skills for working with all lighting conditions, as you won't always have the luxury of shooting during these brief windows.
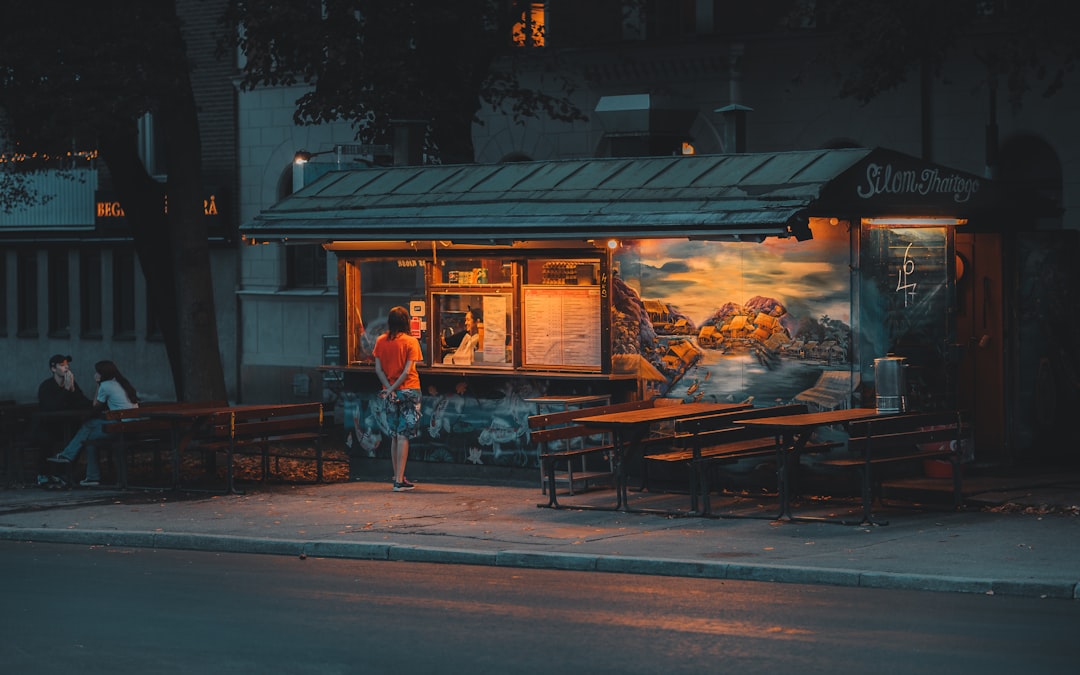
Blue Hour: The Overlooked Opportunity
The "blue hour" occurs just before sunrise and after sunset when the sky takes on a deep blue tone. This period offers:
- A mystical, tranquil atmosphere for landscapes
- The perfect balance for capturing city lights along with the sky
- Soft, even light with minimal contrast
- Unique color palettes not available at other times
For blue hour photography, a tripod is essential due to the low light conditions. This time is particularly valuable for urban landscapes, architecture, and seascapes.

Blue hour creates a magical atmosphere for urban photography
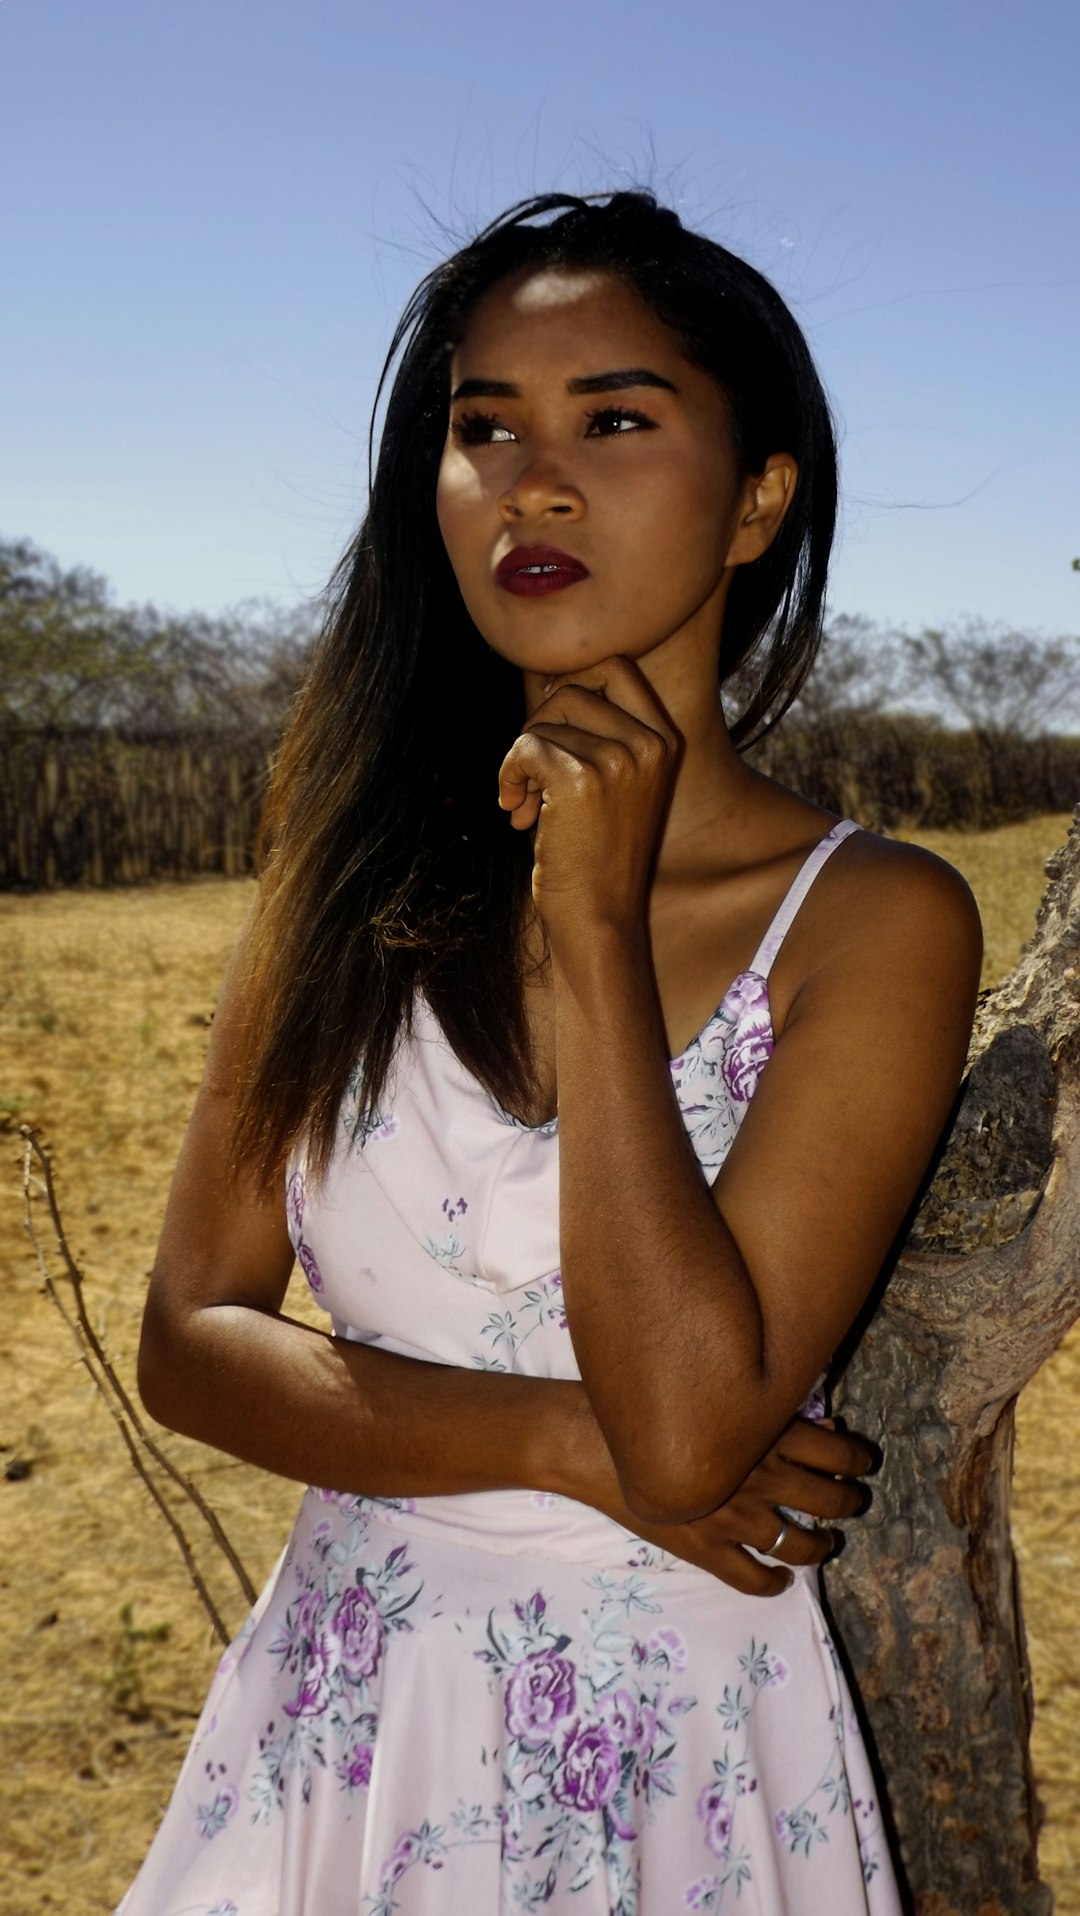
Working with Midday Sun
Midday light gets a bad reputation for being harsh and unflattering, but with the right techniques, you can create compelling images even in challenging conditions:
Finding or Creating Shade
Open shade (areas shaded from direct sunlight but still receiving ambient light) provides soft, even illumination. Look for shade from buildings, trees, or overhangs. Position your subject at the edge of the shade facing out toward the light for a flattering, directional quality.
Using Reflectors
Reflectors are invaluable tools for modifying harsh midday light. A white reflector can fill in harsh shadows, while gold reflectors add warmth. For portraits, position the reflector to bounce light back onto the shadowed side of your subject's face.
Silhouettes and Backlighting
Rather than fighting harsh light, use it creatively. Position your subject with the sun behind them to create dramatic silhouettes or beautiful rim lighting effects. When shooting backlit subjects:
- Expose for the highlights to create a silhouette
- Use spot metering on the subject's face if you want to retain detail
- Try using fill flash to balance the exposure between background and subject
Overcast Days: Perfect for Many Subjects
Cloudy days provide a giant natural softbox effect that's ideal for many types of photography:
- Portraits: Soft, flattering light with minimal shadows
- Macro: Even illumination without harsh shadows on small details
- Woodland/Forest: Reduced contrast allows for capturing detail in both highlights and shadows
- Waterfalls: Easier to achieve balanced exposures without blown-out water
On overcast days, colors often appear more saturated, especially greens and blues, making these conditions perfect for botanical photography and landscapes featuring lush vegetation.
Reading the Direction of Light
Understanding the direction of light relative to your subject is crucial for controlling the mood and dimensionality of your images:
Front Lighting
When light comes from behind the photographer, it fully illuminates the subject, showing maximum detail but minimal texture and dimension. This lighting is straightforward but can appear flat.
Side Lighting
Light coming from the side creates strong shadows and highlights that reveal texture and form. This dramatic lighting works wonderfully for landscapes, architecture, and character portraits.
Backlighting
When the light source is behind your subject, it creates rim lighting effects, glowing translucent elements, and potential silhouettes. This creative lighting requires careful exposure management but produces magical effects, especially with hair, leaves, or other semi-transparent subjects.
The same subject photographed with front, side, and backlighting
Window Light: The Indoor Natural Light Studio
Window light is essentially side lighting that occurs indoors, and it's one of the most beautiful light sources available to photographers:
- North-facing windows (in the Northern Hemisphere) provide consistent, soft light throughout the day
- Large windows create softer light while smaller windows produce more directional, defined light
- Sheer curtains can diffuse harsh direct sunlight into beautiful soft light
For indoor portraits, position your subject at different angles to the window to control the light pattern on their face. Moving closer to or further from the window controls the light intensity and falloff.
Practical Tips for Working with Natural Light
Planning Tools
Several apps and websites can help you plan your shoots according to the sun's position:
- PhotoPills and The Photographer's Ephemeris show the sun's position at any time and location
- SunCalc provides a simple visualization of sun angles throughout the day
- Clear Outside offers weather forecasts specifically for photographers
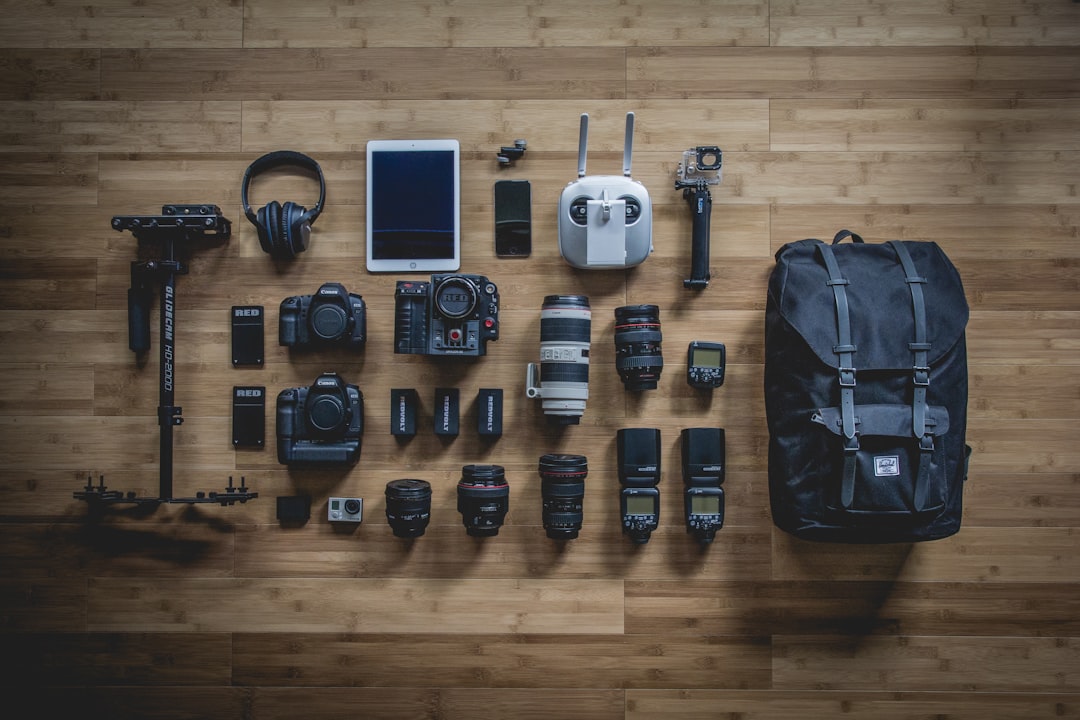
Essential Light-Modifying Tools
Even when working with natural light, a few tools can help you shape and control it:
- A 5-in-1 reflector (typically under $30) offers white, silver, gold, black, and translucent options
- A collapsible diffuser softens harsh direct sunlight
- A white foam board provides an affordable reflector option for close-up work
Conclusion
Mastering natural light doesn't happen overnight—it requires observation, practice, and experimentation. Start by studying how light changes throughout the day and how it affects different subjects. Take the same photograph at different times of day to see how the quality of light transforms the scene.
Remember that there's no such thing as "bad light"—only light that may not suit your subject or creative vision. With practice, you'll develop the ability to work with whatever lighting conditions you encounter, turning potential challenges into creative opportunities.